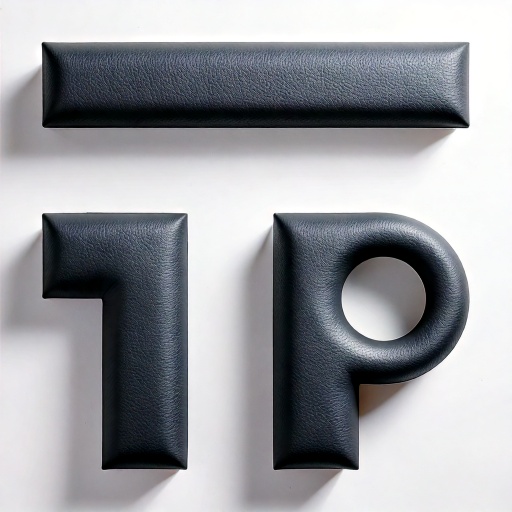
平时很少用到 Firefly,这两天刷短视频碰到好几次用 Firefly 给文字或者Logo上材质的教程,看着效果还都蛮好的,所以就自己试了试。
入口是:https://firefly.adobe.com/generate/images,需要登录 Adobe ID,会消耗生成 credits。
我看的其中一些教程来自:https://www.youtube.com/@PANTERvision,效果是这样的:
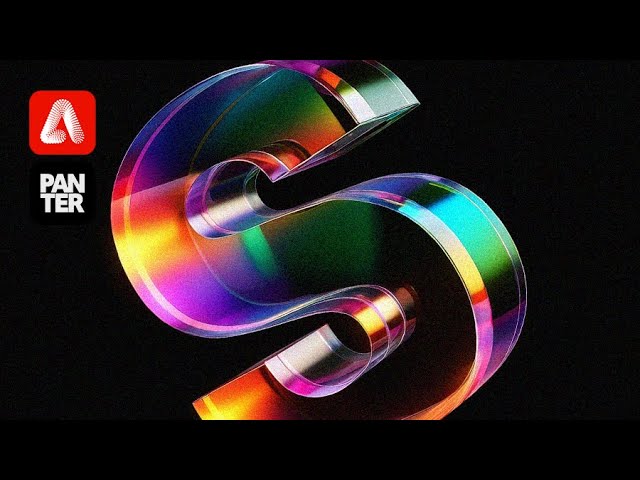
https://www.youtube.com/watch?v=VCfzw_dNyOs&ab_channel=PANTER

https://www.youtube.com/watch?v=FWMKELplmj8&ab_channel=PANTER
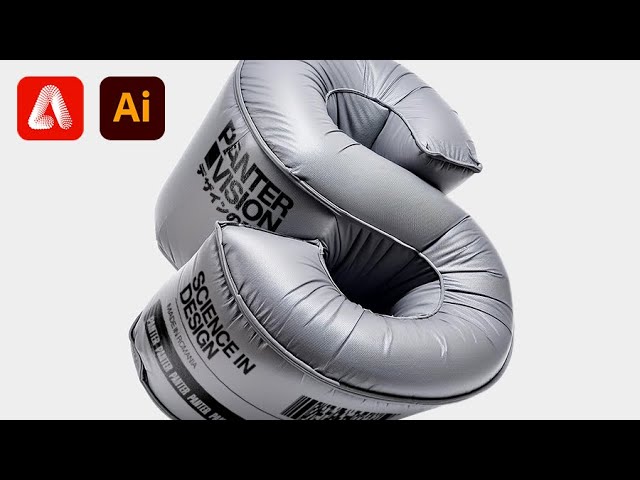
https://www.youtube.com/watch?v=N7AsgniE61M
大体制作流程,基本上是:
- 准备需要附加材质的底图(分辨率大一些,太小的生成时结构会崩);
- 在 Firefly 生成目标材质然后设置为风格参考(鼠标移到满意的生成图上,点左上角的Edit,选Use as style reference);
- 添加之前准备的底图(在Composition部分上传底图),调节参数进行生成。
通常要调节的参数(加粗的部分不是固定的,可以自己根据效果调):
- Aspect radio: 1:1(生成材质时)
- Content Type: Photo
- Composition / Strength: 100%
- Style / Visual intensity: 50% 左右
- Style / Strength: 100%
- Effects: Hyper realistic
- Lighting: Studio light
提示词参考
材质:
// 塑料
pink plastic sphere with hard polished surface, floating, isolated on black background
// 类似沙发布料(chair, mattress这两个可以不加)
3d inflated rubber cube chair mattress of matte light gray soft material, isolated on white background
// 玻璃(这个生成时开启了Effects里的Beautiful和Futuristic)
cube made of prism glass, transparent, black background
生成完材质,进行合成时要把提示词里材质物品名词改成底图相关的词,比如 Text 或者 Logo,类似:
pink plastic logo with hard polished surface, floating, isolated on black background下面是我按教程,用网站 Logo 生成的一些图:
